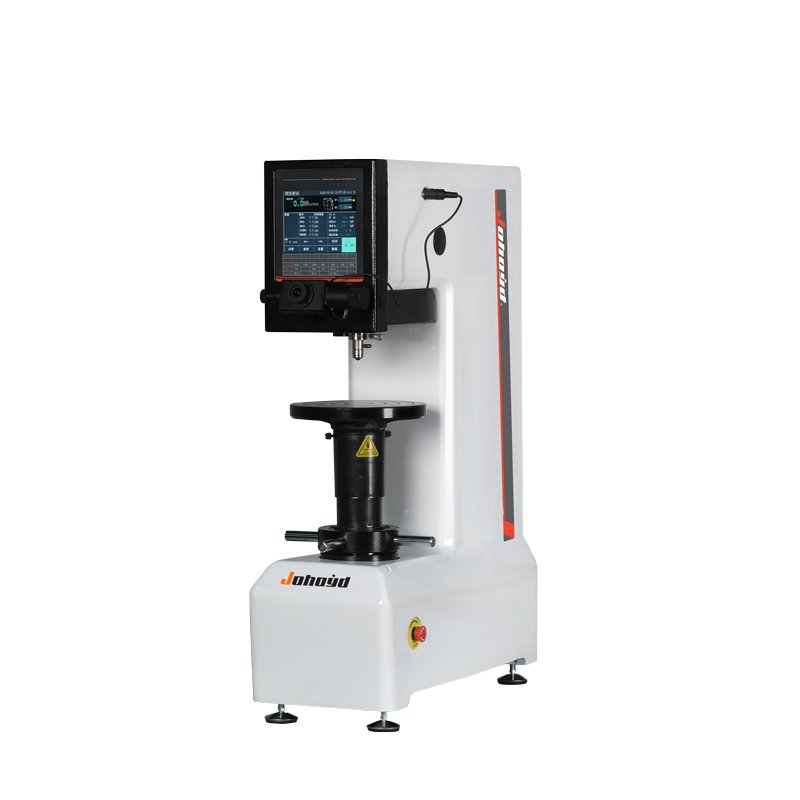
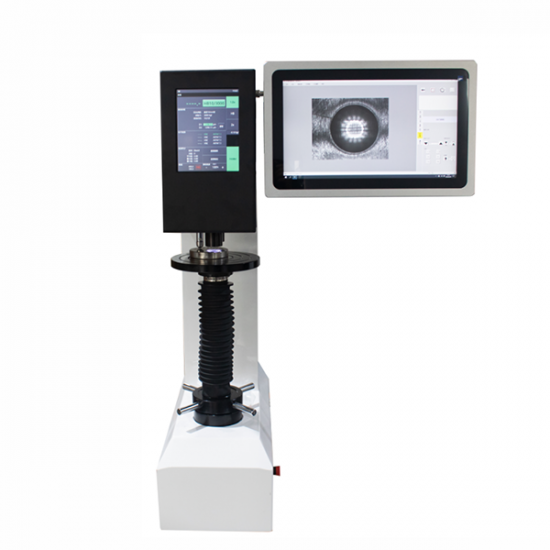
Automatisches Messsystem von Vickers
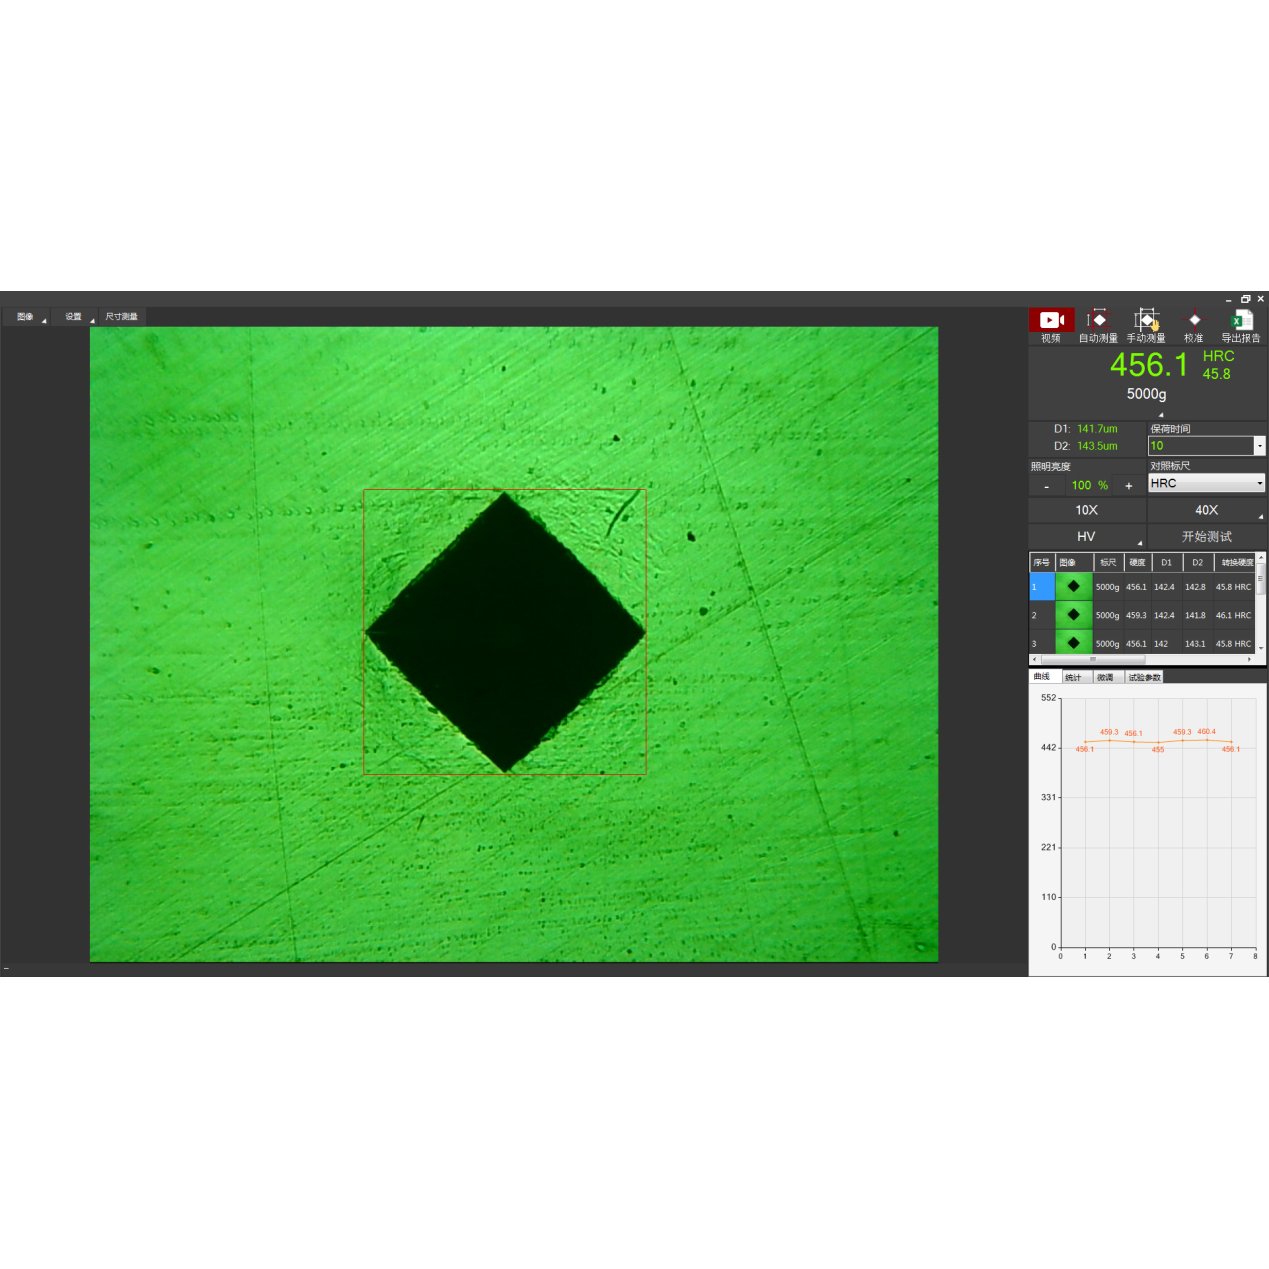
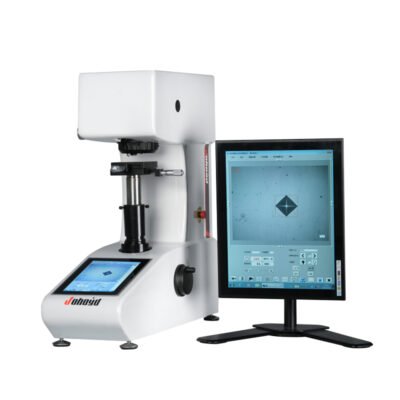
The Vickers Automatic Measuring System provides fast, accurate hardness measurement with automatic indentation detection, diagonal measurement, and hardness calculation. It supports hardening curve plotting, hardness value conversion, sample shape correction, and comprehensive statistics including Cp and Cpk.
The system automatically flags out-of-limit results and generates customizable WORD/EXCEL reports with images and data. It also offers Knoop hardness and fracture toughness measurement, along with full image processing tools. Manual drag-and-drop adjustment allows quick correction with instant result updates.
Main functions
1. Automatic measurement: The system automatically finds the indentation vertex, measures the diagonal length and calculates the hardness value;
2. Hardening curve: The user manually enters the test point depth, and the software automatically draws the hardening curve and calculates the hardening layer depth. For convenience, the user can save multiple depth points to the template file for testing;
3. Hardness value conversion, correction, and effective verification: The system can convert the measured micro-Vickers hardness value into other hardness values such as HB, HR, etc.; it can correct the measured values of spherical and cylindrical samples; it can effectively verify the measured values of samples;
4. Data statistics: automatically calculate the average value, variance, Cp, Cpk and other statistical values of the measured hardness;
5. Automatic alarm: automatically mark the upper and lower limits;
6. Test report: automatically generate WORD or EXCEL document reports; users can customize the report format; the standard format includes each single hardness measurement value, statistical value, indentation image, and hardening curve, etc.;
7. Data preservation: the original measurement data and measurement images can be saved to a document;
8. Knoop hardness, fracture toughness: the software can be set to measure Knoop hardness or fracture toughness;
9. Other functions: including general functions such as image capture, video acquisition, image processing, geometric dimension measurement, document annotation, album management, and fixed-magnification printing.
System Features
Manual modification: after automatic or manual measurement, you can easily modify it manually by dragging and dropping with the mouse, and the measurement value and statistical results will be automatically updated.


MAECENAS IACULIS
Vestibulum curae torquent diam commodo parturient penatibus nunc dui adipiscing convallis bulum parturient suspendisse parturient a.Parturient in parturient scelerisque nibh lectus quam a natoque adipiscing a vestibulum hendrerit et pharetra fames nunc natoque dui.
ADIPISCING CONVALLIS BULUM
- Vestibulum penatibus nunc dui adipiscing convallis bulum parturient suspendisse.
- Abitur parturient praesent lectus quam a natoque adipiscing a vestibulum hendre.
- Diam parturient dictumst parturient scelerisque nibh lectus.
Scelerisque adipiscing bibendum sem vestibulum et in a a purus lectus faucibus lobortis tincidunt purus lectus nisl class eros.condimentum a et ullamcorper dictumst mus et tristique elementum nam inceptos hac parturient scelerisque vestibulum amet elit ut volutpat.




Rezensionen
Es gibt noch keine Rezensionen.