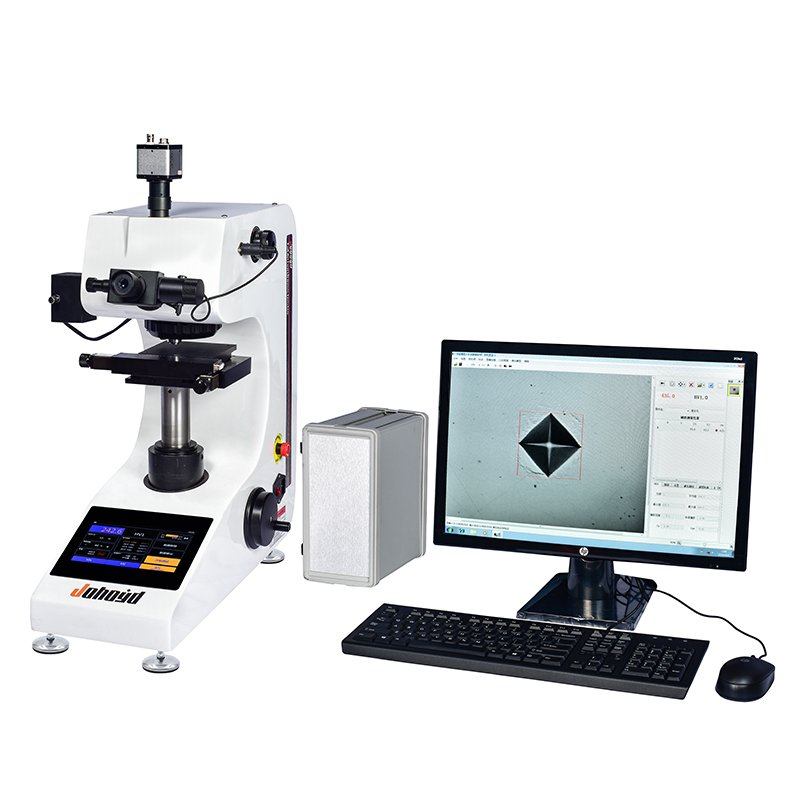
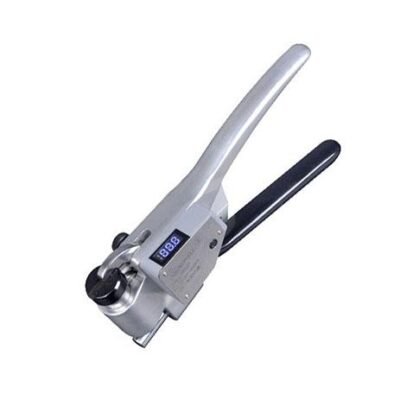
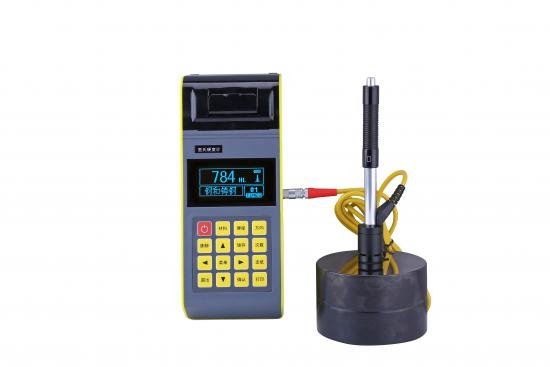
AHVST-1000ZXY Automatic micro Vickers hardness tester
Dear customer, thank you for choosing the automatic hardness measurement system of Shanghai Juhui Instrument Manufacturing Co., Ltd. Relying on professional R&D personnel, Juhui develops and provides high-end manual, XY-semi-automatic, Z-automatic, XYZ-automatic hardness measurement system solutions. In order to improve the product and provide you with better service, we kindly ask you to feed us any suggestions about the product.
The automatic microhardness tester is mainly used to measure tiny, thin specimens and brittle hardware. It can be widely used in various metals (ferrous metals, non-ferrous metals, castings, alloy materials) by selecting various accessories or upgrading various structures. Etc.), metal structure, metal surface processing layer, electroplating layer, hardened layer (oxidation, various infiltration layers, coating layer), heat treatment specimens, carbonized specimens, quenched specimens, small parts of phase inclusions, glass, agate , Artificial gems, ceramics and other brittle and hard non-metallic materials. It is especially suitable for mass measurement of the hardness gradient distribution curve of the workpiece and the hardness test of the specified part.
The automatic translation stage controlled by the built-in stepping motor can be controlled by clicking the mouse. It has a variety of control modes, high positioning accuracy, good repeatability, fast moving speed, and high work efficiency;
Hardness tester technical parameters:
| Parameter name | Parameter data |
| Microhardness scale | HV0.01,HV0.025,HV0.05,HV0.1,HV0.2,HV0.3,HV0.5,HV1 |
| Display | 7 inch LCD touch screen |
| Test force (gf) | 10,25,50,100,200,300,500,1000 |
| Load control | Automatic (load/hold/unload) |
| Test force retention time (s) | 5~60 |
| Test force selection | External force selection knob, test force is automatically displayed on the 7-inch LCD touch screen |
| Objective lens magnification | 10×,40× |
| Optical channel | Dual optical channel (eyepiece and CCD camera channel) |
| Optical system (dual optical channels, no need to switch)) | 1. Automatic digital encoder;
2. Total magnification (μm): 100× (observation), 400× (measurement); 3. Measuring range (μm): 200; 4. Resolution (μm): 0.01 |
| Hardness measurement range | (5-3000)HV |
| Data output (optional) | Built-in printer, test data can also be output to U disk via USB for storage and analysis |
| Maximum height of specimen (mm) | 110 |
| Maximum width of test piece (mm) | 120(Distance from center line of indenter to machine wall) |
| voltage | AC220V/50HZ |
| Weight (kg) | 40 |


MAECENAS IACULIS
Vestibulum curae torquent diam diam commodo parturient penatibus nunc dui adipiscing convallis bulum parturient suspendisse parturient a. Parturient in parturient scelerisque nibh lectus quam a natoque adipiscing a vestibulum hendrerit et pharetra fames nunc natoque dui.
ADIPISCING CONVALLIS BULUM
- Vestibulum penatibus nunc dui adipiscing convallis bulum parturient suspendisse.
- Abitur parturient praesent lectus quam a natoque adipiscing a vestibulum hendre.
- Diam parturient dictumst parturient scelerisque nibh lectus.
Scelerisque adipiscing bibendum sem vestibulum et in a a purus lectus faucibus lobortis tincidunt purus lectus nisl class eros.condimentum a et ullamcorper dictumst mus et tristique elementum nam inceptos hac parturient scelerisque vestibulum amet elit ut volutpat.


Değerlendirmeler
Henüz değerlendirme yapılmadı.